

Our Verdict
For isolated, small tears in otherwise intact screens, a patch repair is a cost-effective and quick fix that any beginner can handle. However, when the frame is warped, the mesh is heavily deteriorated, or damage spans a large area, replacing the entire screen yields a cleaner, longer-lasting result. Neither approach requires professional help in most cases.
Budget-conscious renters and homeowners comfortable with basic DIY tasks who want to restore window functionality without hiring out.
Understanding the Damage Before You Decide
Before reaching for a patch kit or a new roll of mesh, take five minutes to honestly assess the screen's condition. The decision between repairing and replacing hinges on three factors: the size and location of the damage, the condition of the frame, and the overall age and integrity of the mesh.
Run your finger along the frame's edges. If it bends easily, has visible rust, or no longer sits flat against the window, replacement is usually the more practical path — a patch won't fix structural failure. Next, check the mesh itself: fiberglass mesh (softer, slightly fuzzy texture) is easier to patch because it doesn't unravel. Aluminum mesh (stiffer, metallic sheen) tends to fray at cut edges, making patches less secure.
A good rule of thumb: damage smaller than a playing card in a sound frame is repairable. Anything larger, or damage near a corner where tension is highest, calls for a full re-screening or frame replacement.
Fiberglass vs. Aluminum Mesh: A Quick Note
Fiberglass mesh is the more forgiving material for both repairs and replacements — it doesn't crease permanently, resists corrosion, and is easier to cut cleanly. Aluminum mesh is stronger and more resistant to pet damage but unravels at cut edges, which complicates patching. When re-screening, fiberglass is generally the better choice for most interior-facing windows, while aluminum suits high-traffic or pet-heavy households.
The Case for Repairing: Pros and Cons
Patching a screen is appealing for good reason — it's fast, inexpensive, and requires no special tools. Adhesive patch kits are widely available at hardware stores, and fiberglass screens can even be stitched with a needle and matching thread for near-invisible results on small holes.
Very low material cost, often under $10
Adhesive patch kits and screen repair tape are inexpensive and widely available. For tiny holes, a dab of clear screen repair adhesive costs even less.
No special tools required
Most patch repairs need only scissors and the patch itself. Fiberglass mesh can be hand-stitched with a needle and thread in a pinch.
Fast fix — completed in minutes
A straightforward patch can be applied and cured in under 15 minutes, making it ideal when you need immediate insect protection.
Minimal skill or experience needed
Patch kits include clear instructions and are genuinely beginner-friendly, making this a confidence-building first DIY repair.
That said, repairs come with real limitations. A patch is rarely invisible, especially on aluminum mesh, and the adhesive can yellow or peel in direct sun over time. More importantly, a patch addresses the symptom, not any underlying cause — if UV degradation or pet damage created the tear, the same issue will recur nearby.
Patch is often visible and cosmetically obvious
Even color-matched patches tend to stand out, especially on aluminum mesh. The result rarely looks as clean as a fresh screen.
Adhesive patches degrade in UV and heat
Direct sunlight accelerates adhesive breakdown, meaning patches on south- or west-facing windows may peel within a single season.
Doesn't address underlying mesh deterioration
If the mesh is brittle or heavily oxidized, patching one spot often leads to new tears nearby within weeks.
Ineffective near frame edges and corners
Screen tension is highest at corners; patches in these areas fail faster and are harder to bond securely.
The Case for Replacing: When New Is Worth It
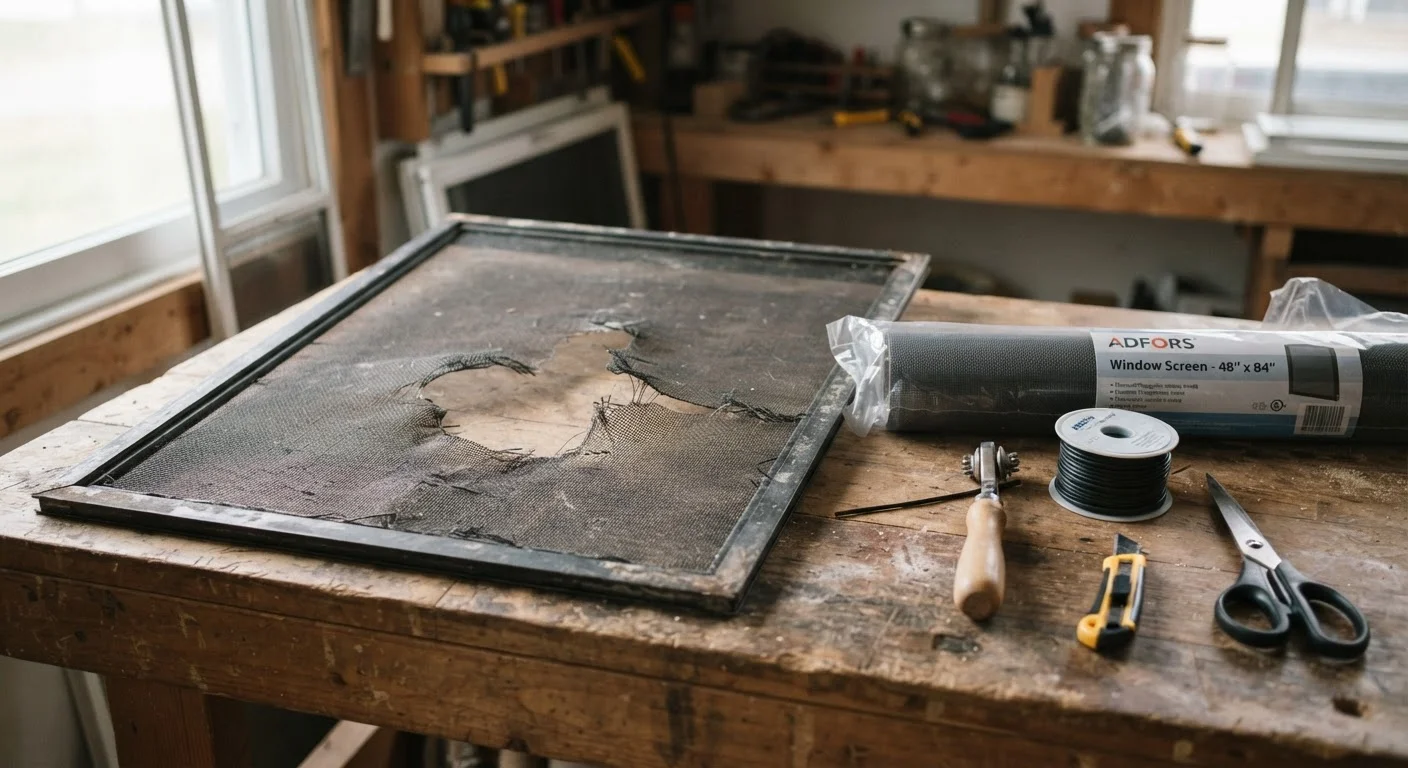
Full screen replacement — either re-screening an existing frame or installing a pre-made replacement screen — delivers a clean, uniform result and resets the clock on your screen's lifespan. Re-screening a standard frame yourself requires a spline roller tool (typically under $5), a roll of mesh, and a length of spline (the rubber cord that locks mesh into the frame groove).
The process takes roughly 20–40 minutes per screen once you've done it once: remove the old spline, pull out the worn mesh, lay new mesh over the frame, press new spline into the groove with the roller, and trim the excess. Pre-assembled replacement screens, sized to common window dimensions, skip even that step.
Replacement makes particular sense when the existing mesh is oxidized, sagging, or has multiple small holes — patching each individually would cost more in time and materials than a single roll of new mesh.
$5–$15
Typical DIY patch kit cost
Hardware store adhesive screen patch kits for fiberglass and aluminum mesh generally fall in this range as of recent retail surveys.
$15–$50
Cost to re-screen a standard window
DIY re-screening using a purchased mesh roll and spline typically costs this range depending on window size and mesh material chosen.
20–40 min
Time to re-screen one window frame
Most beginner DIYers can complete a full re-screen on a standard single-hung window frame within this time after watching a short tutorial.
Making the Right Call for Your Situation
Use this practical breakdown when you're standing in front of a damaged screen trying to decide:
- Repair if: The hole is smaller than 3 inches, the frame is straight and solid, the mesh is otherwise in good shape, and you need a same-day fix.
- Replace if: The frame is bent or corroded, the mesh has multiple damage points, the screen is more than 5–7 years old, or you want a result that looks professionally finished.
One often-overlooked middle option: replace just the mesh without buying a new frame. If the aluminum or vinyl frame is still square and the spline channel is clean, re-screening is dramatically cheaper than a full frame-and-mesh replacement and produces near-identical results.
Whatever you choose, the tools and materials involved are beginner-friendly. Neither task requires ladder work beyond a low step stool for a ground-floor window, and neither involves any electrical, gas, or structural systems — making this one of the safest and most approachable DIY repairs around the home.
This article is for general informational and educational purposes only. Costs and material availability vary by region. Always verify local building codes if your window modifications affect egress or ventilation requirements.
The content provided on our blog site traverses numerous categories, offering readers valuable and practical information. Readers can use the editorial team’s research and data to gain more insights into their topics of interest. However, they are requested not to treat the articles as conclusive. The website team cannot be held responsible for differences in data or inaccuracies found across other platforms. Please also note that the site might also miss out on various schemes and offers available that the readers may find more beneficial than the ones we cover.