

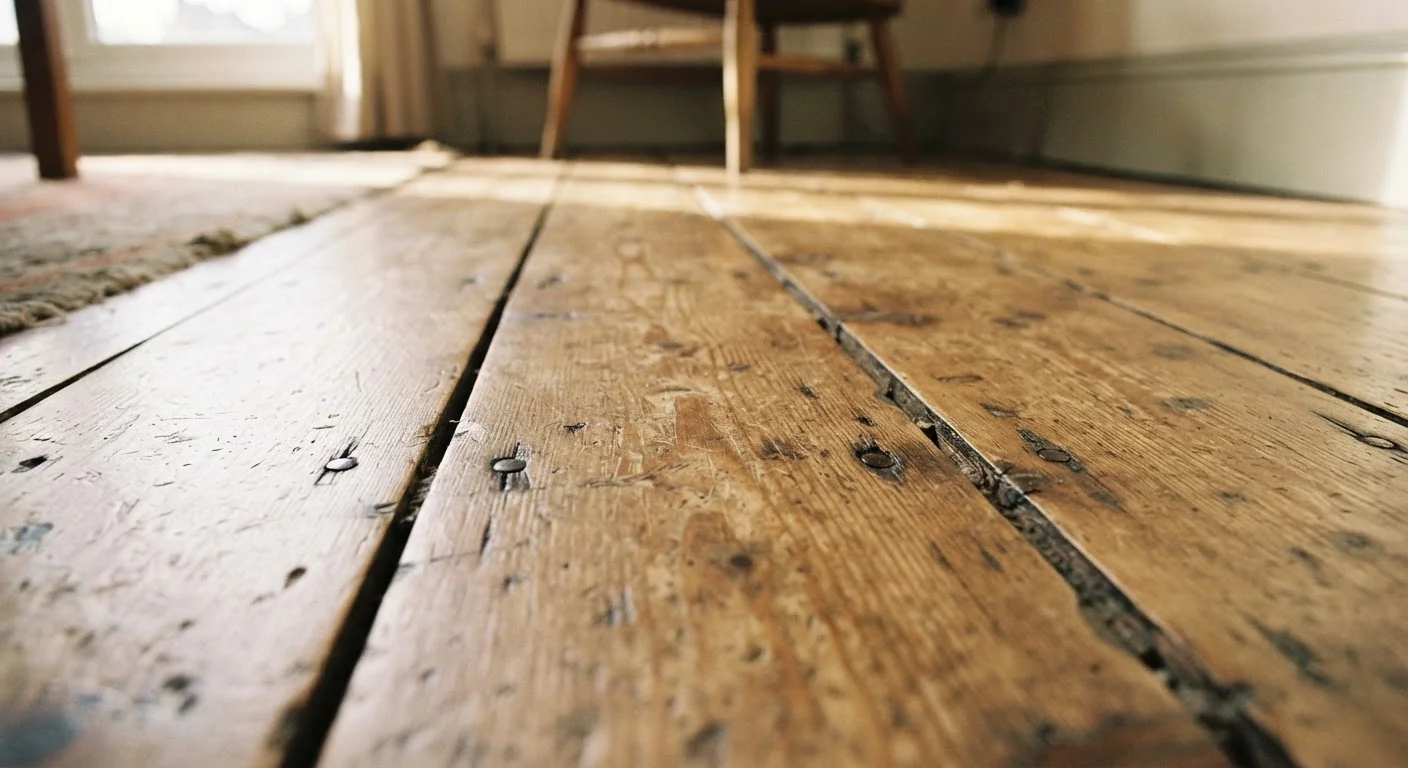
Why Floors Squeak: The Root Causes
A squeaky floor almost always comes down to one thing: friction. When two surfaces rub against each other under the weight of foot traffic, they produce that familiar creak. Understanding exactly what's rubbing helps you choose the right fix.
The most common causes include:
- Loose nails or fasteners: Over time, the nails anchoring floorboards to the sub-floor can work loose, allowing slight movement with each step.
- Dried and shrinking wood: Seasonal humidity changes cause wood to expand and contract. As boards dry out, gaps form between them or between the boards and the joists beneath, creating room for movement.
- Boards rubbing against each other: When edge-to-edge gaps open between planks, the boards can shift laterally and rub with every step.
- Sub-floor separation from joists: The sub-floor — the structural layer beneath your finish flooring — can separate slightly from the floor joists over years of use, creating flex and noise.
- Bridging or blocking movement: The cross-bracing between floor joists can loosen and vibrate independently.
Most of these causes are benign from a structural standpoint. A squeak is usually a nuisance, not a danger. That said, it's worth noting that a squeak accompanied by noticeable floor bounce or soft spots deserves a closer look.
Diagnosing Where the Squeak Is Coming From
Effective repair starts with accurate diagnosis. Walk slowly across the area and note whether the squeak occurs in one isolated spot or across a broader section. Mark the squeaky spots with painter's tape so you're not guessing later.
Next, determine which layer of flooring is involved:
- Finish floor layer: If you have hardwood, the noise may be boards rubbing against each other at their edges or tongues-and-grooves.
- Sub-floor layer: If the squeak feels deeper or more resonant, the plywood or OSB (oriented strand board) sub-floor may be the culprit.
- Joist connection: A squeak that travels along a line — rather than being point-specific — often points to a joist or a fastener running along that joist.
If you have access to the floor from below (a basement or crawl space), have someone walk the floor above while you observe from underneath. You'll often be able to see or hear exactly where movement is occurring — a far more reliable diagnostic method than guessing from above.
When marking squeaky spots, walk the floor in socks — shoes can dampen the sound and make pinpointing the exact board harder.
Direct contact with the floor surface transmits vibration more clearly to your feet, making it easier to locate the precise point of friction rather than a general area.
Before any repair, check the room's humidity level. If the wood is exceptionally dry, a whole-room humidifier running for a few weeks may partially close gaps and reduce squeaking without any tools.
Wood is hygroscopic — it absorbs and releases moisture. In dry climates or during winter heating seasons, boards can shrink enough to create squeaking gaps that naturally tighten when humidity is restored.
Quick Surface Fixes You Can Try Today
These approaches work through or on top of the finished floor surface — no demolition required. They won't always provide a permanent fix, but they're a sensible first step, especially for renters or anyone unwilling to take on a bigger repair.
Powdered Lubricants
Talcum powder, powdered graphite, or powdered chalk can be worked into the gaps between floorboards to reduce friction. Sprinkle the powder along the joint, place a cloth over it, and walk back and forth to work it into the gap. Wipe up any excess. This is the fastest method and costs almost nothing.
Liquid Lubricants
A thin application of a dry-film lubricant (like a silicone-based spray) applied along board edges can quiet squeaks caused by lateral wood movement. Avoid oil-based products, which can stain finished wood.
Surface Screws Through Finished Hardwood
For squeaks caused by loose boards, driving small finish screws through the face of the hardwood and into the sub-floor can pin the board down. Use a countersink bit so the screw head sits slightly below the surface, then fill with a color-matched wood filler. This method is more visible but effective.
These repairs pair well with the seasonal upkeep habits covered in our seasonal home maintenance guide, which walks through preventive steps that can reduce floor movement before it starts.
Sub-Floor Repairs for Lasting Results
When surface fixes don't hold, or the squeak is clearly originating below the finish floor, sub-floor repairs offer a more durable solution.
Repairing from Below (Preferred Method)
If you have basement or crawl space access, this is the cleanest approach. Have a helper walk the floor above while you locate the movement point from below. Once found:
- Drive a short wood screw up through the sub-floor into the finish floor — but measure carefully. The screw must be short enough not to break through the top of the hardwood above.
- Alternatively, apply construction adhesive into any gap between the sub-floor and the joist, then brace it temporarily until it cures. This fills the void that's allowing flex.
Securing Sub-Floor from Above
If there's no access from below, you'll need to work from the top down. Using a stud finder, locate the floor joists beneath your sub-floor. Drive screws through the finish floor and sub-floor and into the joist. As with surface screws, countersink and fill for a cleaner result.
Adding Blocking Between Joists
If the squeak runs along a line between two joists, the sub-floor may be flexing in a span with no support. Adding a solid wood block or a piece of blocking lumber between joists — secured with screws or nails — can stiffen the span and eliminate the movement.
Watch Your Screw Length
When driving screws from below into the sub-floor and finish floor, screw length is critical. A screw that's even a few millimeters too long will punch through the surface of your hardwood, causing visible damage that's difficult to fix. Measure the combined thickness of your sub-floor and finish floor before selecting a fastener, and err on the side of shorter.
When to Call a Professional
Most floor squeaks are DIY-friendly. But there are scenarios where a licensed contractor or structural engineer should be involved:
- Soft or spongy floor surfaces: This can indicate rot or moisture damage to the sub-floor or joists — a structural concern that goes beyond a simple squeak fix.
- Widespread sagging: If a floor has a visible dip or slope, the joists themselves may be compromised.
- Squeaks following water damage: Moisture intrusion can cause sub-floor delamination (where layers of plywood separate) or joist damage. A professional assessment is warranted before any cosmetic repair.
- Squeaks in load-bearing areas near walls: Movement near bearing walls or beam ends could reflect structural settlement.
Squeaks in these contexts are symptoms, not the underlying problem. Attempting a surface fix while ignoring rot or structural compromise is a short-term band-aid on a long-term issue.
If none of those warning signs are present, the vast majority of floor squeaks fall squarely within what a capable DIYer can address in an afternoon — with basic tools and a clear diagnosis.
This article is intended for general informational and educational purposes only. For structural concerns, always consult a licensed contractor or structural engineer familiar with your local building codes.
The content provided on our blog site traverses numerous categories, offering readers valuable and practical information. Readers can use the editorial team’s research and data to gain more insights into their topics of interest. However, they are requested not to treat the articles as conclusive. The website team cannot be held responsible for differences in data or inaccuracies found across other platforms. Please also note that the site might also miss out on various schemes and offers available that the readers may find more beneficial than the ones we cover.