

Why Small Gaps Have an Oversized Effect on Heating Bills
A draught is a symptom of uncontrolled air exchange — warm indoor air escaping and cold outdoor air pushing in to replace it. Your heating system then has to work harder to maintain temperature, and that extra load shows up on your energy bill. The frustrating part is that this often has nothing to do with insulation in your walls or loft. It's simply gaps that were never sealed properly, or seals that have worn out over time.
The good news is that most draught sources in a typical home are accessible and fixable with inexpensive materials. You don't need specialist knowledge or tools — just a methodical approach and a couple of hours. This is exactly the kind of task covered in our guide to DIY repairs safe for beginners, and it fits neatly into a seasonal maintenance routine you can repeat each autumn before temperatures drop.
Self-adhesive foam weatherstrip tape
Seals gaps around door and window frames where the moving part meets the fixed frame.
Brush-strip door seal
Covers the gap at the bottom of an exterior door, blocking cold air and wind noise.
Flexible filler or decorator's caulk
Fills gaps between floorboards and along skirting boards where draughts enter from below.
Letterbox draught excluder
Fits inside the letterbox opening to block cold air coming through the mail slot.
Candle or tissue paper
Used as a low-tech airflow detector to find exactly where draughts are entering.
Before buying materials, read through the steps below to understand what you're working with. The amount you'll spend depends entirely on how many problem areas you find — many people can cover an average-sized home for under $30 in materials.
Step-by-Step: Finding and Sealing Draughts
What you will need
Find where cold air is actually getting in
Before you buy anything, walk through your home on a cool, windy day and hold a lit candle or a single sheet of tissue paper near door frames, window edges, skirting boards, floorboards, and the letterbox. Flickering flame or movement in the tissue indicates a draught. Mark each spot with a small piece of masking tape so you can prioritise where to work.
Pay particular attention to external doors, ground-floor windows, and any room that feels noticeably colder than the rest of the home — these are your highest-return targets.
Check ventilation before sealing anything
Not every gap should be sealed. Homes need a controlled level of fresh air to prevent condensation, mould, and the build-up of carbon monoxide from gas appliances. Do not block air bricks, trickle vents built into window frames, or any purpose-made ventilation opening. If you have a gas boiler, open fireplace, or solid-fuel stove, make sure the room retains adequate ventilation as required by safety standards in your area.
If you are unsure whether an opening is structural ventilation or just a gap, leave it alone and consult a qualified professional.
Seal door frames with foam weatherstrip tape
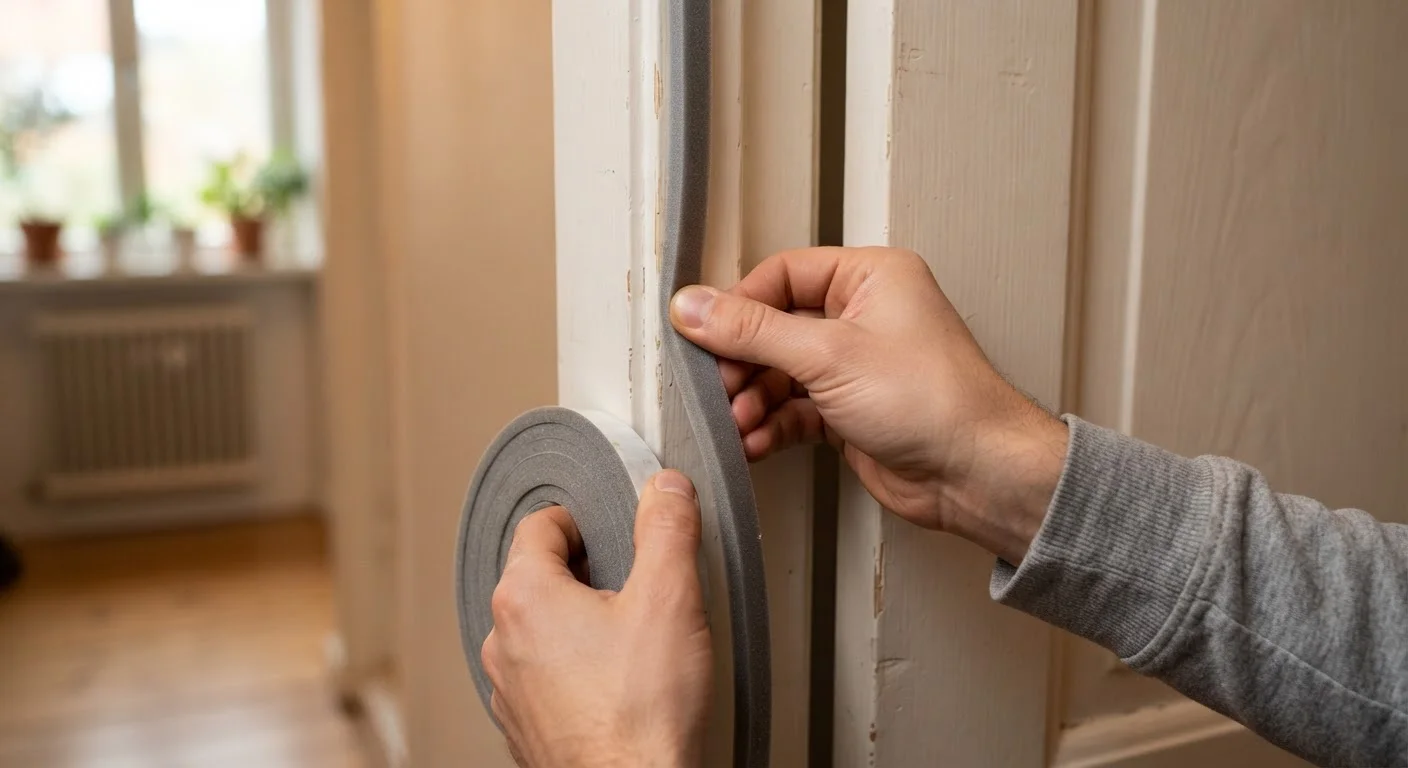
For gaps where a door or window meets its frame, self-adhesive foam tape is the simplest fix. Clean and dry the surface thoroughly first — adhesive won't bond well to dust or moisture. Cut the tape to length, peel the backing, and press it firmly along the door stop (the strip of wood the door closes against). Close the door to check the fit; you want a snug seal without the door becoming difficult to shut.
Foam tape compresses over time, so check it annually and replace if it's lost its spring. For internal doors where noise or heat loss is the issue, the same method applies.
Fit a door seal or draught excluder at the bottom of exterior doors
The gap under an exterior door is often the single biggest source of heat loss in a hallway. A brush-strip seal screws onto the bottom of the door and sweeps against the threshold as the door closes. Measure the door width, cut the strip to fit if needed, and screw it in place. Most brush strips allow a small amount of height adjustment — set it so it makes light contact with the floor without dragging or binding.
If you rent and can't make permanent changes, a weighted fabric draught snake (also called a draught excluder sausage) placed along the bottom of the door is a non-damaging alternative that still meaningfully cuts airflow.
Fill floorboard and skirting board gaps
In older homes with suspended timber floors, cold air can push up through gaps between floorboards and along skirting boards. For narrow, consistent gaps between boards, a flexible decorator's caulk or wood filler applied with a caulk gun works well — it accommodates seasonal expansion and contraction without cracking. For wider, irregular gaps, thin wooden strips glued in place are a more durable solution.
Run a bead of caulk along the joint between skirting boards and the floor; smooth with a damp finger and allow to cure fully before walking on it. See our guide to getting caulk to last if you've had issues with it cracking in the past.
Address the letterbox and keyhole
A standard letterbox can let in a surprising amount of cold air. Purpose-made letterbox draught excluders fit on the inside of the door and use a brush or hinged flap to block airflow while still allowing mail to drop through. They typically require just a screwdriver to fit. For keyholes, a simple escutcheon cover plate with a pivoting flap costs very little and takes about two minutes to install.
Renters: Check Your Tenancy Agreement First
Some tenancy agreements restrict modifications to the property, even minor ones like screwing a brush strip to a door. Before drilling or permanently adhering anything, review your agreement or ask your landlord in writing. Many landlords are receptive to draught-proofing requests since it protects the property from damp — but get permission documented. Non-adhesive and removable solutions like draught snakes and chimney balloons are generally safe bets without needing approval.
Don't Over-Seal an Older Home
Older homes were often built with deliberate air movement to manage moisture in walls and floors. Sealing every gap aggressively in a poorly ventilated home can trap humidity and accelerate mould growth — particularly in bathrooms, kitchens, and rooms with single-glazed windows. If you notice condensation increasing after draught-proofing, open trickle vents or crack a window slightly during cooking and showering.
Make It Part of a Broader Home Audit
Draught-proofing works best when paired with a broader look at where your household budget is leaking. Our room-by-room cost checklist covers energy waste, unused subscriptions, and other low-hanging fruit that adds up over a year. Spending an afternoon on both is one of the higher-return uses of a free weekend.
Once you've worked through the main entry points — doors, windows, floorboards, and the letterbox — you've addressed the vast majority of draught sources in most homes. If you want to go further, consider checking where pipes and cables enter through exterior walls; small gaps around these penetrations can be filled with expanding foam filler, which is available in small cans designed for interior use.
For a wider view of what else you can tackle without a tradesperson, the Budget DIY Repairs hub is a practical starting point. And if you plan to weatherstrip your windows more thoroughly alongside this project, our weatherstripping walkthrough goes into more detail on window-specific techniques.
This article is for general informational purposes only. For work involving gas appliances, structural elements, or regulated systems, always consult a qualified, licensed professional and verify local permit and safety requirements before proceeding.
The content provided on our blog site traverses numerous categories, offering readers valuable and practical information. Readers can use the editorial team’s research and data to gain more insights into their topics of interest. However, they are requested not to treat the articles as conclusive. The website team cannot be held responsible for differences in data or inaccuracies found across other platforms. Please also note that the site might also miss out on various schemes and offers available that the readers may find more beneficial than the ones we cover.