

Start here
Why Order Matters When Starting Out
Foundation
Step 1: Get Your Network Ready First
Core setup
Step 2: Pick One Ecosystem and Stick to It
First devices
Step 3: Start With Lighting and Smart Plugs
Next layer
Step 4: Layer In Security and Sensors
Level up
When to Add Automations (and Which Ones First)
Why Order Matters When Starting Out
The biggest mistake first-time smart home buyers make isn't picking the wrong device — it's buying in the wrong order. A smart doorbell that won't connect because your router is too far away, or a smart bulb that requires a hub you don't own yet, are frustrating and wasteful ways to learn this lesson.
Smart home tech can absolutely work on a tight budget, but only when each layer supports the next. Think of it less like shopping and more like building: foundation first, then structure, then finishing touches. This guide walks you through exactly that sequence — so you spend money once on things that work together, rather than twice replacing things that don't.
If you're renting, the approach is similar but with some important constraints. Our piece on what renters can and cannot change is worth reading before you purchase anything that mounts to a wall.
Step 1: Get Your Network Ready First
Every smart home device depends on your home network. Before spending a dollar on gadgets, assess what you're working with. A sluggish or inconsistent Wi-Fi signal will cause smart devices to drop offline, respond slowly, or fail to automate reliably — none of which is a device problem you can return your way out of.
At minimum, your router should provide stable 2.4 GHz coverage throughout your home. Most entry-level smart devices use this band rather than the faster 5 GHz band, because 2.4 GHz carries farther through walls. If your signal drops off in certain rooms, a mesh extender or a Wi-Fi range extender can help before you invest further.
Smart home ecosystem
A platform or system — like Google Home, Amazon Alexa, or Apple HomeKit — that connects and controls your smart devices from a single app or voice interface.
2.4 GHz Wi-Fi band
A wireless frequency that most smart home devices use because it travels farther through walls, even though it's slower than the 5 GHz band used for streaming or gaming.
Hub
A small device that acts as a central coordinator for smart home gadgets that don't connect directly to Wi-Fi, such as those using Zigbee or Z-Wave protocols.
Matter
A relatively new industry standard that allows smart home devices from different brands and ecosystems to work together, reducing lock-in to a single platform.
Smart plug
A plug-in adapter that fits into a standard wall outlet and lets you control any attached appliance remotely via an app or voice command.
Automation
A pre-set rule that makes devices act on their own — for example, turning off lights when you leave home — without you needing to open an app each time.
A separate consideration: security. Connecting smart devices to a dedicated guest network — rather than your primary network — limits exposure if any device is compromised. Most modern routers support this and it takes about five minutes to configure.
Step 2: Pick One Ecosystem and Stick to It
A smart home ecosystem is the platform — think of it as the operating system — that lets your devices talk to each other and respond to your voice or app commands. The major platforms each have their own strengths, and devices labeled as compatible with one platform may not work well — or at all — with another.
Choosing your ecosystem before buying any device saves you from the most common beginner trap: a collection of gadgets that each need their own separate app and can't be automated together. Look at which platform is already built into devices you own (your phone, a tablet, a speaker) and research which budget-friendly devices support it. Our pre-purchase checklist walks through the compatibility questions worth asking before committing.
Matter — a newer cross-platform standard — is worth knowing about. It aims to let devices from different ecosystems work together, and an increasing number of affordable devices now support it. It doesn't eliminate the need to pick a primary platform, but it does make the choice less permanent.
Step 3: Start With Lighting and Smart Plugs
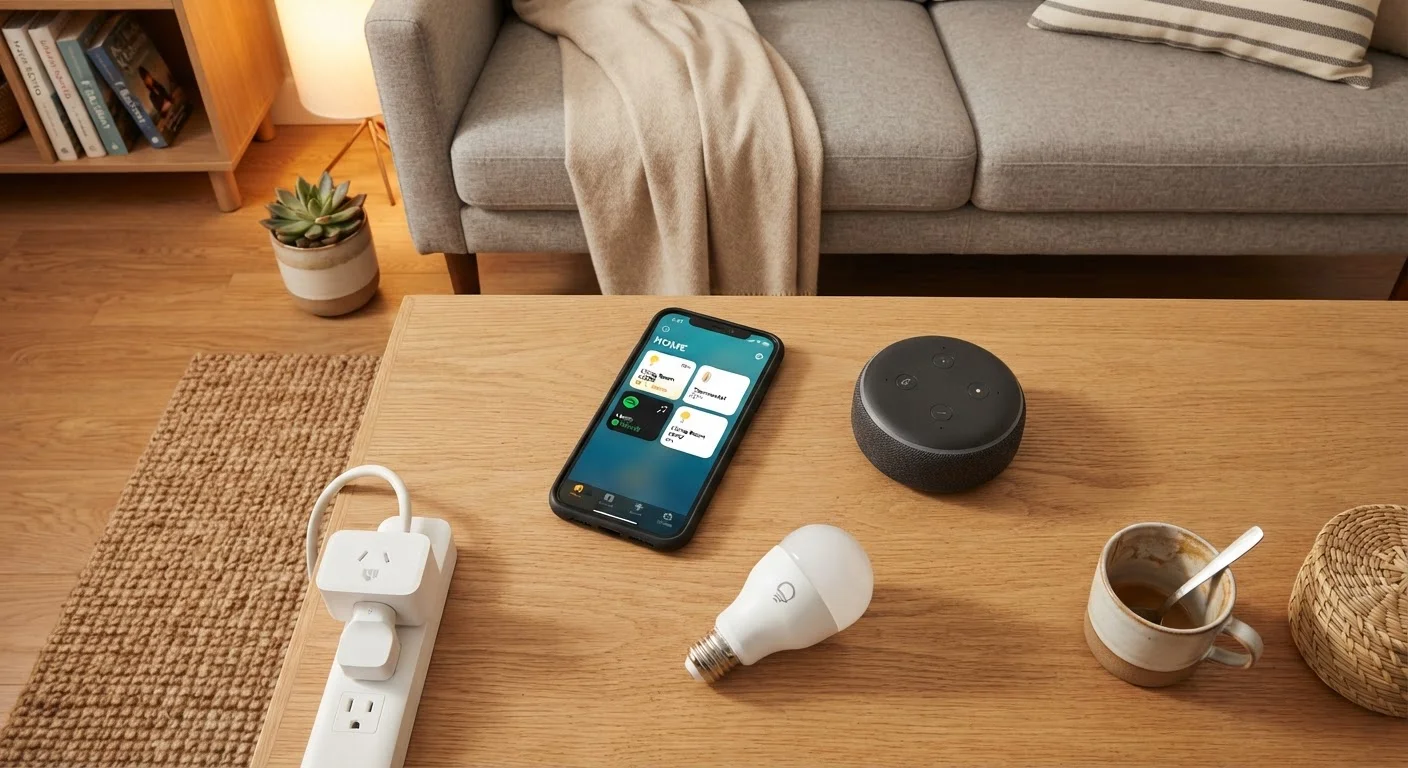
Once your network is stable and your ecosystem is chosen, smart lighting and smart plugs are the natural first purchases. They're low-cost, require no wiring, and deliver immediate, tangible benefit: lights that turn off automatically, appliances you can switch off remotely, and schedules that make your home feel more responsive without any ongoing effort.
Smart bulbs screw into existing sockets and connect via Wi-Fi or a small hub. Smart plugs slot into a standard outlet and make any lamp, fan, or small appliance controllable by app or voice. Neither requires a landlord's permission or a screwdriver.
For a clearer breakdown of how bulbs, switches, and light strips fit together — and when each one makes sense — see our guide to smart lighting from scratch.
Test Before You Scale
Resist the urge to outfit every room at once. Buy one or two devices, use them for two to four weeks, and note what actually gets used versus what gets ignored. This small experiment saves real money and reveals your true usage patterns before you commit to a larger purchase.
Avoid buying more than two or three bulbs to start. Living with them for a few weeks reveals how you actually use them — and may change which rooms you prioritise next.
Step 4: Layer In Security and Sensors
Security devices — cameras, video doorbells, motion sensors, and door/window sensors — are worth adding after your core setup is stable. They tend to generate more data, require more reliable connectivity, and involve privacy considerations that are easier to manage once you understand your network's behavior.
Entry-level indoor cameras and door sensors are genuinely useful and don't have to be expensive. The key is understanding what you need them to do: a simple door sensor that alerts you when a door opens is a very different product from a full outdoor camera with cloud storage subscriptions. The former is usually one-time cost; the latter may involve ongoing fees.
Before any security purchase, check whether your lease or HOA (homeowners association) restricts camera placement or recording, particularly for outdoor-facing devices.
When to Add Automations (and Which Ones First)
Automations are the point where a smart home stops feeling like a novelty and starts feeling genuinely useful. But not all automations are equal — some save real time and energy; others just feel clever for a week before you forget they exist.
The most durable automations are tied to predictable, daily routines: lights turning off when you leave, a plug cutting power to a TV at bedtime, or a morning routine that adjusts lighting gradually. These work because they remove friction from things you'd do anyway.
Our guide to automations worth setting up early covers which routines actually earn their keep for beginners — and which to skip until your setup is more established. For a broader look at affordable entry-level devices that integrate well, smart home on a shoestring is a useful companion read.
This article is for general informational purposes only. Product availability, pricing, and compatibility can change; verify specifications directly with manufacturers or retailers before purchasing. If you're renting, review your lease and check with your landlord before making any modifications to the property.
Frequently Asked Questions
Smart plugs and a single smart bulb are usually the most affordable first steps, often available for under $15 each. They require no wiring, work with most Wi-Fi setups, and let you experiment with app-based control before committing to more devices.
Not necessarily. Many entry-level devices connect directly to your Wi-Fi router without needing a separate hub. However, if you plan to expand beyond a few devices, a hub can make managing everything significantly easier.
Yes — many smart home devices require no permanent installation. Smart plugs, portable speakers, and bulbs that screw into existing sockets are all deposit-safe options. Avoid hardwired switches or drilling unless your landlord approves.
The right choice depends on what devices you already own. If you use an Android phone, one ecosystem may feel more natural; iPhone users often find a different one integrates smoothly. Research which devices in your budget are compatible with each platform before committing.
Most smart devices collect some usage data, so reviewing privacy settings and using strong, unique passwords is important. Keeping firmware updated and connecting devices to a separate guest network adds a meaningful layer of protection.
Starting with two to four devices is a sensible approach. It gives you enough to learn the ecosystem without overwhelming your network or budget. Add more once you understand how your current setup behaves.
The content provided on our blog site traverses numerous categories, offering readers valuable and practical information. Readers can use the editorial team’s research and data to gain more insights into their topics of interest. However, they are requested not to treat the articles as conclusive. The website team cannot be held responsible for differences in data or inaccuracies found across other platforms. Please also note that the site might also miss out on various schemes and offers available that the readers may find more beneficial than the ones we cover.