

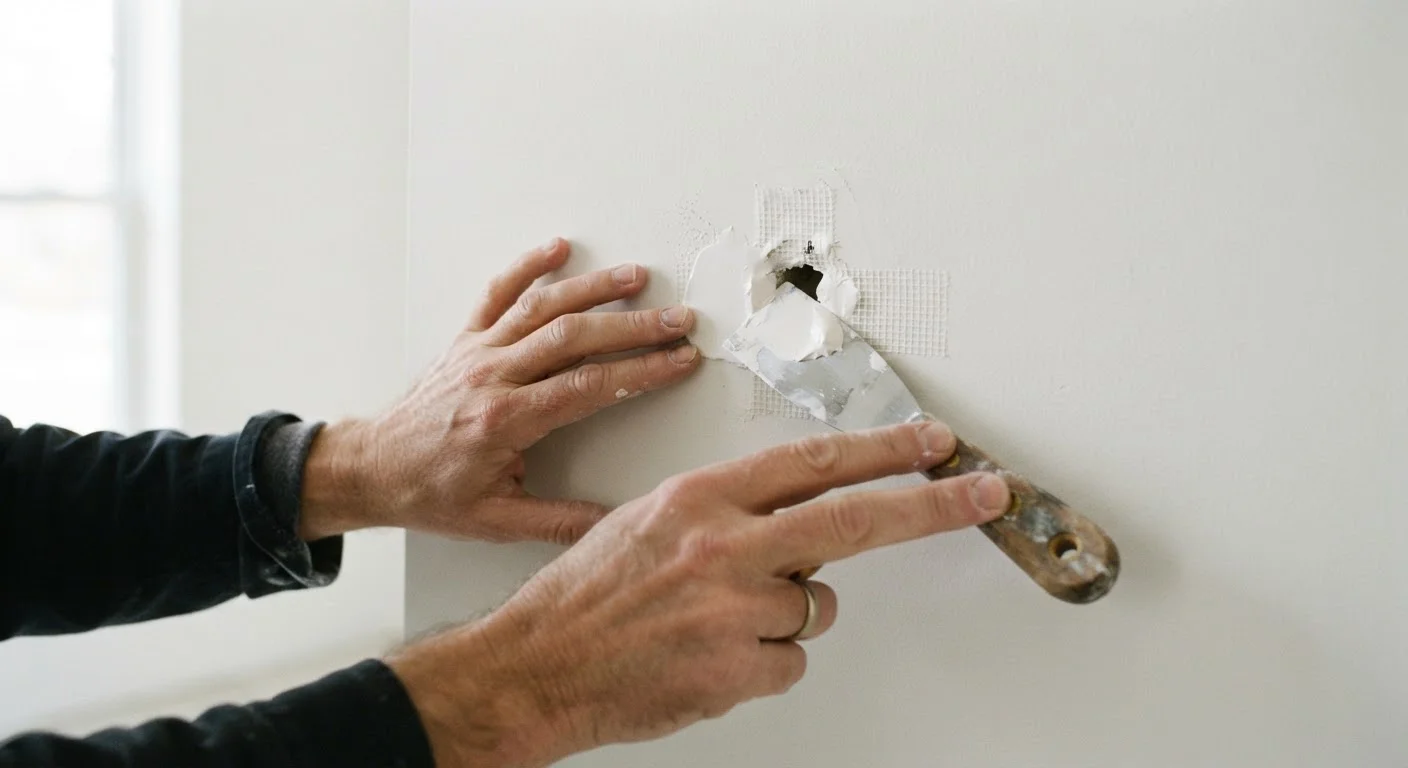
Why This Repair Is Worth Doing Yourself
A drywall patch is one of the most beginner-friendly home repairs available. It requires no specialized licenses, no hazardous materials, and no structural knowledge — just patience and a willingness to let compound dry between coats. For most renters and first-time homeowners, it's an entry point into a broader category of manageable fixes. See our guide to beginner-safe DIY home repairs for a broader look at what falls within that range.
The cost difference is also meaningful. A contractor visit for a small drywall patch typically includes a minimum service charge that far exceeds the cost of materials — which for most small repairs runs well under $20. Understanding where professional help is truly necessary versus where it isn't is a practical money skill. The same logic applies beyond home repair; our piece on DIY vs. mechanic decisions walks through that reasoning for automotive tasks.
Check for Hidden Wiring Before You Cut
Before widening or cutting into any drywall, use a stud finder with an AC wire-detection mode to scan the area. Cutting into electrical wiring is a serious safety hazard. If you have any reason to suspect live wires, conduit, or plumbing run behind the wall, stop and consult a licensed professional before proceeding.
What this guide covers: holes up to approximately 6 inches in diameter in standard drywall. It does not cover water-damaged drywall (which may indicate a mold or leak issue requiring professional assessment), textured ceilings containing older materials that may need testing, or load-bearing wall modifications of any kind.
Tools and Materials You'll Need
None of the materials required for this repair are difficult to source. Most hardware stores carry everything on a single aisle. Budget for a small container of pre-mixed all-purpose joint compound — the larger tubs are more economical if you anticipate multiple repairs, but small squeeze tubes are available for single-hole jobs.
Putty knife or taping knife (4–6 inch)
Used to apply and smooth joint compound over the patched area.
Pre-mixed joint compound (all-purpose)
The filler material applied in thin coats to level and blend the patch.
Self-adhesive mesh patch or patch kit
Provides structural backing for holes between 1 and 6 inches in diameter.
120- and 220-grit sandpaper
Used to smooth dried compound between coats and before painting.
Primer (drywall or PVA primer)
Seals the compound before painting to prevent the patch from showing as a dull spot.
N95 respirator or dust mask
Protects your lungs from fine drywall dust during sanding.
Sanding block or pole sander
Keeps pressure even across the surface for a flatter finish when sanding.
Texture spray or stipple brush
Used to replicate existing wall texture over the repaired area before painting.
Once you're set up, this repair pairs well with other low-cost home improvement tasks. Sealing gaps around doors and windows — covered in our draught-proofing guide — is another beginner-friendly project that delivers measurable comfort and efficiency benefits. Both tasks together make for a productive weekend that improves your home without professional costs.
Feathering Is the Secret to Invisibility
The key to a seamless patch is spreading each coat of compound far beyond the repair itself — gradually thinning the edges outward by several inches. This 'feathering' eliminates the ridge that would otherwise be visible under paint. A 6-inch or wider taping knife makes this significantly easier than a small putty knife.
Step-by-Step: Patching the Hole
Follow these steps in order. The most common mistake is rushing the drying time between coats — the steps themselves are straightforward, but the process requires patience spread over a day or two.
Do Not Sand Without Respiratory Protection
Drywall dust is a fine particulate that can irritate lungs with repeated exposure. Always wear an N95 respirator or a well-fitted dust mask when sanding compound. Keep the workspace ventilated and wipe surfaces with a damp cloth rather than dry-sweeping the dust.
Assess the size and type of hole
Drywall patches fall into two general categories based on hole size:
- Small holes (up to 1 inch): Nail pops, small anchors, or minor dings. These can be filled directly with joint compound — no backing needed.
- Medium holes (1–6 inches): Doorknob impacts, outlet cutouts, or accidental damage. These require a mesh patch or a California patch (explained in Step 2) to provide support before applying compound.
Holes wider than 6 inches typically require cutting back to the nearest studs and installing a drywall backer — a repair that is still DIY-possible but more involved, and outside the scope of this guide.
Prepare the hole and install backing if needed
For small holes, simply clear away any loose paper or crumbled gypsum with a putty knife until you have a clean edge.
For medium holes, peel and press a self-adhesive mesh patch (available at hardware stores) centered directly over the opening. These patches are aluminum or fiberglass mesh coated with adhesive — they hold the compound in place while it cures.
An alternative for medium holes is the California patch: cut a drywall piece slightly larger than the hole, score the backing paper on its edges, snap off the gypsum, and use the paper flanges to adhere the piece directly into the opening. This creates a very solid backing using only drywall and joint compound.
Apply the first coat of joint compound
Using your taping knife, scoop a modest amount of pre-mixed joint compound and spread it over the patch or hole in a thin, even layer. Press firmly to work the compound into the mesh or against the drywall edges.
The first coat does not need to be perfect — its job is to fill the void and give subsequent coats something to bond to. Smooth it as flat as you can, then allow it to dry completely. Drying time is typically 24 hours at normal room temperature and humidity, but can take longer in humid conditions. The compound will turn from grey to white as it dries.
Sand, then apply additional coats
Once the first coat is fully dry, lightly sand with 120-grit sandpaper to knock down any ridges or tool marks. Wipe away dust with a lightly damp cloth.
Apply a second coat, this time spreading the compound slightly wider than the first and feathering the edges outward. For most repairs, two to three thin coats produce a better result than one thick coat, which is prone to cracking as it dries.
Repeat the dry-sand-coat cycle until the patch is flush with the surrounding wall and no ridge is detectable by touch.
Final sanding and texture matching
Do a final sand with 220-grit paper for a smooth finish. At this stage, match any existing wall texture. Common options include:
- Smooth walls: Sand until the surface is flush — no additional texture step needed.
- Orange peel texture: Apply with a light spray of texture spray can from about 18 inches away.
- Knockdown texture: Dab thinned joint compound with a sponge or roller, let it partially set, then lightly flatten the peaks with a knife.
Always test your texture technique on a scrap piece of drywall or cardboard before applying it to the wall.
Prime and paint the repaired area
Before painting, apply a coat of drywall primer (also called PVA primer) over the patched area. Skipping primer causes the repaired spot to absorb paint differently than the surrounding wall — resulting in a visible dull patch even after painting, a common DIY mistake called 'flashing.'
Once the primer dries, apply your finish paint. For a seamless result, paint the entire wall panel from corner to corner rather than just the patched spot. This eliminates any sheen or color variation at the edges of the repaired area.
After completing the repair, add drywall maintenance to your regular home upkeep rotation. Our seasonal home maintenance checklist outlines other low-effort tasks that prevent small issues from becoming expensive ones.
The content provided on our blog site traverses numerous categories, offering readers valuable and practical information. Readers can use the editorial team’s research and data to gain more insights into their topics of interest. However, they are requested not to treat the articles as conclusive. The website team cannot be held responsible for differences in data or inaccuracies found across other platforms. Please also note that the site might also miss out on various schemes and offers available that the readers may find more beneficial than the ones we cover.