

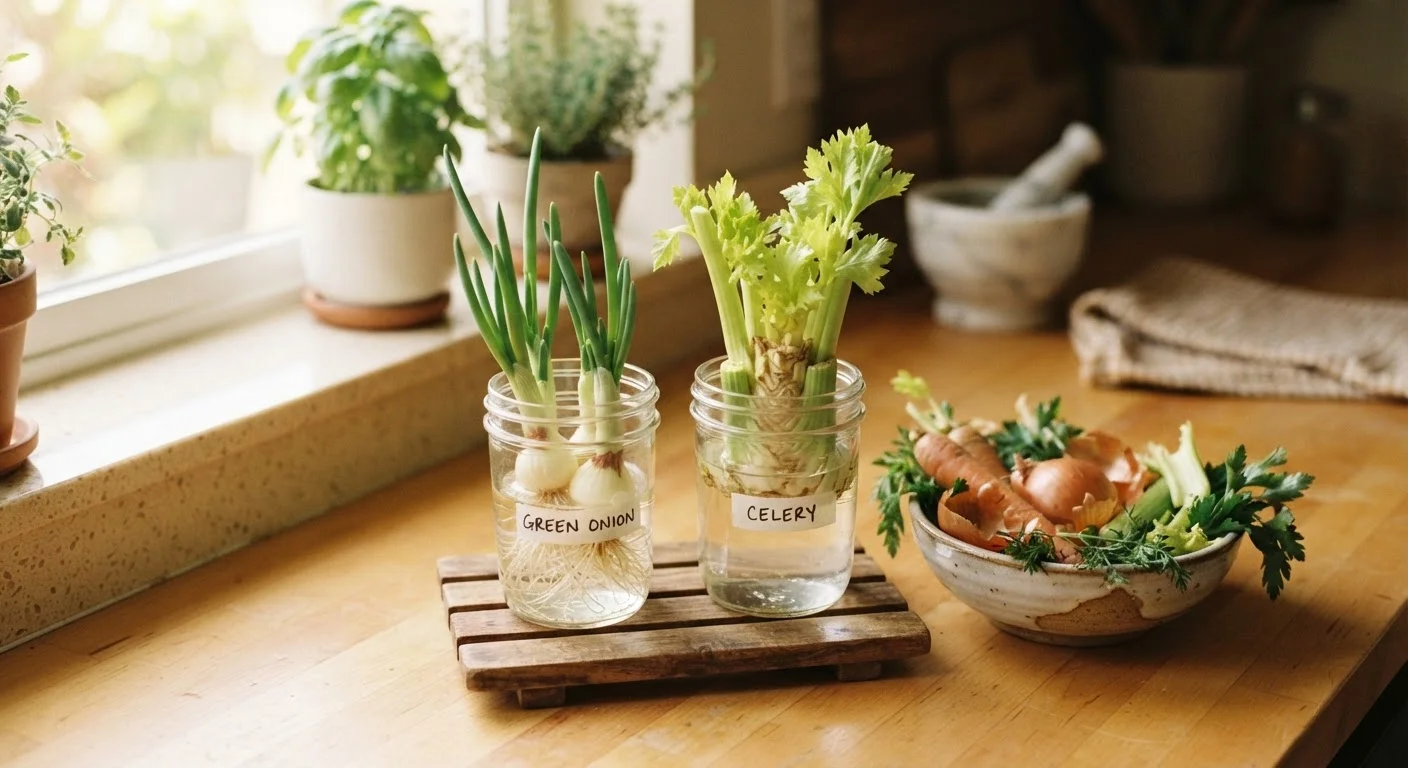
Why Scrap Gardening Makes Sense for Budget-Minded Renters
Most grocery produce contains the biological machinery to keep growing — roots, nodes, or stem bases that plants use to regenerate. For budget-conscious households, this means a second harvest is already sitting in the compost bin. Scrap gardening captures that value before it disappears.
The approach fits naturally into small-space living. You don't need a yard, a raised bed, or a trip to a garden center. A windowsill, a few repurposed jars, and the scraps from this week's cooking are genuinely sufficient to get started. If you're already thinking about how to grow more food in limited square footage, our guide on container gardening in rental spaces walks through how to scale that up without violating your lease.
The scraps that regrow most reliably fall into two categories: those that root in water and those that need to be planted directly into soil. Knowing which is which saves a lot of frustration.
What you will need
What Grows Well (and What to Temper Expectations On)
Not every scrap is worth the effort. Focus on these proven performers:
- Green onions (scallions): The root ends regrow in water within days. This is the most reliably fast scrap you can grow, producing multiple harvests from a single bunch.
- Celery base: Place the cut base in shallow water. New pale-green stalks emerge from the center within a week; transplant to soil once they reach about two inches.
- Romaine lettuce and cabbage: The bottom inch of a romaine head, placed cut-side-up in a shallow dish of water, will produce new leaf growth. Don't expect a full head — leaves remain small — but they're usable in salads.
- Herb stems (basil, mint, cilantro): Stem cuttings with a leaf node placed in water will produce roots in one to two weeks, ready to pot in soil afterward.
- Garlic cloves: A sprouting clove planted point-up in soil will produce garlic greens (mild in flavor, usable like chives) quickly, or a full bulb over several months.
- Ginger root: A piece with a visible growth bud, buried shallowly in moist potting mix, will send up shoots and eventually produce harvestable rhizomes.
Tomatoes and peppers can be grown from seed saved out of scraps, but they require more time, better light conditions, and some patience — better suited once you've had a few easy wins first. For a broader look at low-cost starting strategies, see starting a food garden on almost no budget.
Step-by-Step: Setting Up Your Scrap Garden
The setup takes under 30 minutes and requires no purchases if you already have containers at home. Follow the steps below to get your first scraps into water or soil correctly.
Select and prepare your scraps
Choose fresh scraps — not anything that has gone soft, developed mold, or been sitting out for more than a day. Use a clean knife to make a straight horizontal cut: for green onions, leave about an inch of white base with roots attached; for celery, leave two inches of base; for lettuce, the bottom inch is sufficient. Herb stems should be four to six inches long with at least one leaf node intact.
Choose and clean your containers
Glass jars, yogurt containers, or cut-down plastic bottles all work. Wash them with dish soap and rinse thoroughly — residual soap or food residue can inhibit rooting. For water-rooting scraps (green onions, celery, lettuce, herb stems), you need only enough water to cover the root end or cut base without submerging the growing tip. For soil-planted scraps (garlic, ginger), use a container at least four inches deep with a drainage hole.
Position scraps correctly in water or soil
For water-rooted scraps: place the cut end down in your container and fill with enough room-temperature tap water to submerge the root end only. The green growth tip must stay above the waterline. For soil-planted scraps: plant garlic cloves point-up, buried about one inch deep. Bury ginger pieces horizontally, about half an inch below the surface, growth bud facing up. Lightly firm the soil around them and water until it drains from the bottom.
Place in a well-lit spot and maintain
Set water containers on a windowsill that receives at least four hours of direct or bright indirect light daily. Change the water every one to two days and rinse the container each time. For soil containers, water when the top inch of soil feels dry. Within three to seven days, green onion tips and celery centers will show visible new growth; herb roots typically appear within ten to fourteen days.
Harvest and keep the cycle going
Harvest green onion tops by snipping what you need with scissors, leaving the root base in water to continue growing — one root end can yield three or more harvests. For herb cuttings that have rooted, pot them into soil and harvest by trimming the top third of growth, which encourages bushier regrowth. Celery and lettuce bases eventually exhaust themselves; once regrowth slows significantly, compost the remains and start fresh with new scraps.
Match Your Scrap to the Right Method
Water-rooting works best for green onions, celery, lettuce, and soft herb stems. Garlic and ginger need soil from the start — they will rot in standing water. Keeping these two tracks separate prevents the most common beginner mistakes and sets each scrap up for the best chance of success.
Once your scraps have been harvested from repeatedly, the remaining material — spent roots, wilted leaves — doesn't need to go in the trash. Feeding it into a compost system closes the loop entirely. Our explainer on composting at home covers whether that step is worth the effort for your situation.
Troubleshooting Common Problems
Scrap gardening is forgiving, but a few issues come up repeatedly:
- Slimy water or bad smell
- Water is not being changed often enough. Change it every one to two days, and rinse the container each time. Standing water breeds bacteria that will rot the scrap before roots establish.
- No growth after two weeks
- Light is likely the limiting factor. Move containers closer to a south- or east-facing window. If natural light is genuinely insufficient, a basic grow light on a timer can substitute — this is one situation where a small investment pays off quickly.
- Mold on soil surface
- Overwatering is the usual cause. Poke a finger an inch into the soil: if it feels damp, wait before watering again. Ensure containers have drainage holes — a single nail through a repurposed plastic container works fine.
- Scraggly, pale leaves
- Etiolation — the plant stretching toward insufficient light. Rotate the container a quarter turn daily and increase light exposure. Pale leaves are still edible, just less nutritious than fully sun-exposed growth.
If your scraps are thriving and you want to extend that thinking into a more deliberate garden layout, the concepts in space-efficient planting strategies apply directly — scrap-grown plants integrate into dense, productive arrangements just as well as nursery starts.
The content provided on our blog site traverses numerous categories, offering readers valuable and practical information. Readers can use the editorial team’s research and data to gain more insights into their topics of interest. However, they are requested not to treat the articles as conclusive. The website team cannot be held responsible for differences in data or inaccuracies found across other platforms. Please also note that the site might also miss out on various schemes and offers available that the readers may find more beneficial than the ones we cover.