

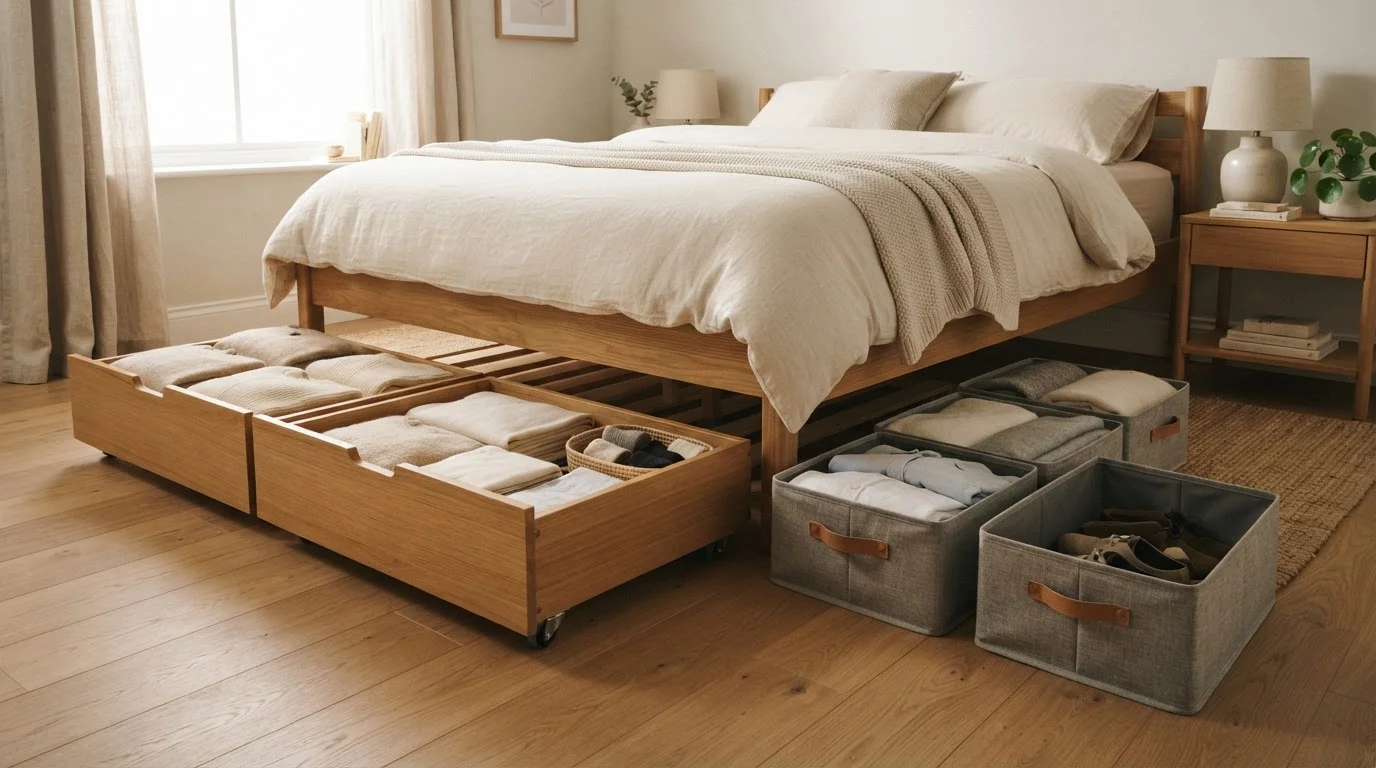
Why Under-Bed Space Gets Ignored — And Why It Shouldn't
In a small apartment or compact bedroom, under-bed space is typically the single largest untapped storage zone in the entire room. A standard queen-sized bed frame sits on roughly 30 square feet of floor area. Even with 8 inches of clearance, that's a meaningful volume — comparable to a full dresser drawer multiplied several times over.
Yet most people use this space as a catch-all for things they don't know where else to put, or they avoid it entirely because retrieving anything from under the bed feels like an archaeological dig. Neither outcome is inevitable. With a modest time investment and a clear system, under-bed storage can function like a reliable, hidden extension of your closet.
If you're working through a broader effort to make your space function better, the concepts and vocabulary of small-space living are worth understanding before you start rearranging. And if you're exploring storage at the room level, vertical storage strategies pair well with what you'll set up here — together they cover both ends of the room's height spectrum.
What You'll Need Before You Start
Getting this right requires almost no specialised equipment, but a few things will make the process significantly smoother.
What you will need
Tape measure
Measures bed clearance height, width between legs, and depth from edge to wall — critical before purchasing any container.
Flat storage bins with lids
Slides under the bed to contain and protect folded clothing, linens, or other flat items from dust.
Vacuum storage bags
Compresses bulky items like duvets or winter coats to a fraction of their normal volume, maximising vertical clearance.
Bed risers
Lifts bed frame height by 3–6 inches to create additional clearance for taller containers or folded items.
Label maker or adhesive labels
Marks each container so you can identify contents without pulling everything out.
Furniture felt pads or caster wheels
Attaches to the bottom of containers so they slide in and out smoothly without scratching the floor.
Step-by-Step: Building a Functional Under-Bed System
Follow these steps in order. Skipping the measuring and sorting stages is the most reliable way to end up with containers that don't fit or a system that collapses within a month.
Clear everything out from under the bed
Pull out every item currently under your bed — regardless of how long it's been there. Sort each item into one of four piles: keep here, keep elsewhere, donate, or discard. Be honest. If you haven't touched something in over a year and it holds no clear purpose, it shouldn't return.
Measure your available clearance
With the space clear, measure three dimensions: the vertical clearance from floor to the bottom of the bed frame or slats (this is your height limit), the width between the legs on the long side (this determines how wide your containers can be), and the depth from the edge of the frame toward the wall or centre. Record all three — you'll need them when selecting containers.
Decide whether bed risers make sense
If your clearance is under 6 inches, standard flat bins may still fit, but your options will be limited. Bed risers — which slot under each leg and lift the frame — can increase clearance to 10 inches or more. Check that your frame has individual legs rather than a continuous rail before buying risers, and confirm the riser weight capacity against your mattress and frame weight.
Categorise what you're storing
Group your 'keep here' items into logical categories: seasonal clothes, spare bedding, shoes, off-season accessories. Each category should ideally occupy its own container. Mixing categories is the fastest route back to chaotic rummaging. Aim for one container per category, and if a category fills more than two containers, consider whether some items should be stored elsewhere or let go.
Select and prepare your containers
Using your measurements, choose containers that fit your clearance with at least half an inch of clearance to spare — this makes sliding much easier. Lidded containers keep dust out; clear-sided or clear-lidded options let you see contents without opening. If your items are bulky (duvets, coats), vacuum storage bags can compress them significantly before placing inside a flat bin.
Attach felt pads or small caster wheels to container bases if you're on hardwood or tile — this protects the floor and makes retrieval effortless.
Label everything and load the containers
Before sliding containers back under the bed, label each one clearly on the side that will face outward. Pack items neatly but without forcing — overpacked containers are harder to close, harder to slide, and harder to search through when you need something specific. Place the categories you'll access most frequently closest to the edge for easiest retrieval.
Review and adjust after 30 days
After a month of using the system, pull everything out and reassess. Did you reach for certain containers frequently? Move those closer to the edge. Did any category expand unexpectedly? Consider whether items need to be relocated rather than stacking things on top of each other. A monthly check prevents gradual drift back to disorder.
What to Store — and What to Keep Out
Not everything belongs under the bed, and over-stuffing the zone defeats the purpose. Good candidates include: seasonal clothing and bedding, spare towels and linens, shoes worn infrequently, flat-packaged items like gift wrap or craft supplies, and small sentimental items that don't need frequent access.
Avoid storing anything moisture-sensitive without sealed containers, anything you need daily (the friction of retrieval will frustrate you), or heavy items that make the containers difficult to slide. Food storage doesn't belong here — humidity and temperature fluctuations under a bed aren't ideal, and pests can become an issue. If you're thinking creatively about household storage more broadly, budget-friendly household organisation ideas can help you extend the same thinking to other rooms.
Rotate Seasonally, Not Constantly
The most effective under-bed storage systems aren't touched week to week — they're swapped out seasonally. Plan for two major rotations per year (spring/summer and fall/winter) and your system stays tidy without constant management. If you're reaching under the bed every few days, those items probably belong somewhere more accessible.
Once your under-bed system is in place, it's worth considering how it fits into your room's overall storage approach. Multi-function furniture — like storage ottomans or platform beds with built-in drawers — can complement rather than compete with what you've built here. And if the bedroom still feels cramped after sorting the storage, the reasons small rooms feel closed in are often fixable without spending anything.
The content provided on our blog site traverses numerous categories, offering readers valuable and practical information. Readers can use the editorial team’s research and data to gain more insights into their topics of interest. However, they are requested not to treat the articles as conclusive. The website team cannot be held responsible for differences in data or inaccuracies found across other platforms. Please also note that the site might also miss out on various schemes and offers available that the readers may find more beneficial than the ones we cover.